Knitting Polo: Your Ultimate Guide to Creating Stylish Handmade Polo Shirts
July 22, 2025
0
What is Knitting Polo and Why It’s Worth Your Time Knitting a polo represents one of the most rewarding and practical projects any knitter can undertake. Unlike simple
What is Knitting Polo and Why It’s Worth Your Time
Knitting a polorepresents one of the most rewarding and practical projects any knitter can undertake. Unlike simple scarves or hats, creating a polo shirt through knitting combines technical skill with fashion-forward thinking. The process involves understanding garment construction, mastering various stitch patterns, and developing an eye for professional finishing techniques.
After years of working with different yarn weights and needle sizes, I’ve discovered that knitting polo shirts offers unique advantages over store-bought alternatives. You control every aspect of the garment—from fiber choice to fit customization. The satisfaction of wearing a perfectly fitted polo that you created with your own hands is unmatched in the knitting world.
Essential Materials for Your Knitting Polo Project
Yarn Selection for Professional Results
Choosing the right yarn makes the difference between a homemade-looking project and a professional knitting polo result. Cotton blends work exceptionally well because they provide breathability while maintaining shape retention. Mercerized cotton offers that coveted sheen that mimics commercial polo shirts.
I recommend starting with a DK-weight yarn for your first knitting poloproject. This weight provides excellent stitch definition while remaining manageable for beginners. Avoid pure wool forpolo shirts, as it can felt with washing and doesn’t offer the crisp appearance associated with classic polo styling.
Needle Types and Sizes
Circular needles in sizes 6-8 (4-5 mm) work best for most knitting polo projects. The seamless construction possible with circular needles creates a more professional finish. Double-pointed needles become essential when working the collar and sleeve details.
Interchangeable needle sets prove invaluable when knitting shirts because you’ll need different sizes throughout the project. The body typically requires one size, while ribbing sections need smaller needles for proper elasticity.
Mastering the Knitting Polo Construction Process
Starting with the Body Foundation
Begin your knitting polo journey by casting on for the back panel. The key lies in calculating proper ease—polo shirts should have 2-4 inches of positive ease for comfortable movement. Unlike fitted sweaters, polos maintain a relaxed silhouette while still looking polished.
Working from the bottom up allows better fit adjustments as you progress. The hem ribbing sets the tone for the entire polo project. Use a smaller needle size and work in 2×2 ribbing for approximately 2 inches. This creates the structured hem characteristic of quality polo shirts.
Shaping Techniques for Professional Fit
The waist shaping in knitting polo construction differs significantly from other garments. Instead of dramatic decreases, subtle shaping maintains the polo’s characteristic straight silhouette. Decrease one stitch on each side every 6-8 rows for a gentle taper.
Armhole shaping requires particular attention in polo projects. The armholes should sit comfortably without binding, typically 1-2 inches below the natural armpit. This positioning ensures the classic polo shirt comfort and appearance.
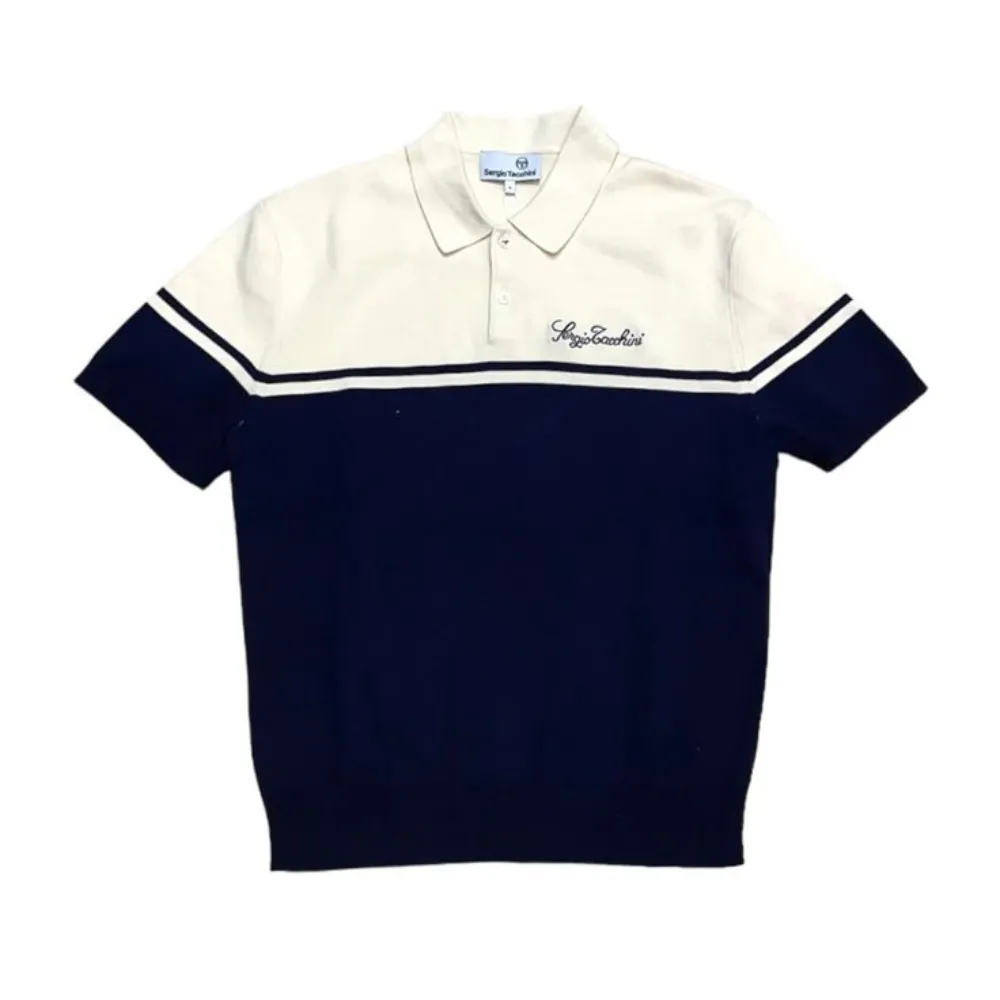
Creating the Signature Polo Collar
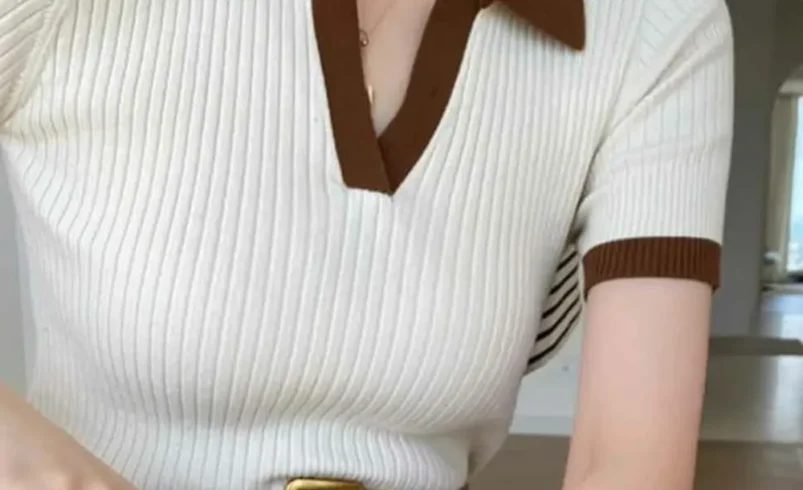
Understanding Collar Construction
The collar distinguishes a knitted polo from regular pullover sweaters. This element requires picking up stitches around the neckline and working in ribbing with specific shaping. The collar should lie flat against the chest while maintaining enough structure to stand when buttoned.
Working the placket simultaneously with the collar creates the most professional knitted polo finish. Plan for 3-4 buttonholes spaced evenly along the placket length. The top button should sit approximately 1 inch below the collar fold line.
Finishing Touches for Professional Appearance
Button selection significantly impacts your knitted polo’s final appearance. Mother-of-pearl buttons provide timeless elegance, while horn buttons offer casual sophistication. Avoid plastic buttons, as they detract from the handmade quality of your knitting polo project.
Blocking your completed knitted polo is non-negotiable for professional results. Steam blocking works best for cotton yarns, helping stitches settle into their proper positions. Pay special attention to the collar area, ensuring it lies flat and symmetrical.
Troubleshooting Common Knitting Polo Challenges
Sizing and Fit Adjustments
Achieving proper fit in knitting polo construction often requires modifications during the knitting process. The beauty of handknitting lies in this adaptability. If the body seems too narrow, increase stitches gradually rather than starting over completely.
Length adjustments in knitting poloprojects are straightforward when working with bottom-up construction. Simply knit more or fewer rows in the body section before beginning armhole shaping. Keep detailed notes about modifications for future knitting polo projects.
Stitch Quality and Tension Issues
Maintaining consistent tension throughout your knitting polo project creates the even fabric essential for a professional appearance. Practice your chosen stitch pattern on swatches before beginning the actual garment. Stockinette stitch works beautifully for polo shirts, providing smooth fabric with excellent drape.
Edge finishing requires special attention in knitting polo construction. Consider adding single crochet edges to armholes and necklines for extra stability. This technique prevents stretching during wear and washing while maintaining the garment’s shape over time.
Advanced Techniques for Expert-Level Results
Incorporating short rows into your knitting poloconstruction addresses fit issues common in hand-knit garments. Use short rows to create better shoulder slope and improve overall drape. These techniques elevate your knitted polo from homemade to couture quality.
Colorwork opens exciting possibilities in knitting polo design. Simple stripes at the hem or collar area add visual interest without overwhelming the classic polo aesthetic. Fair Isle techniques work beautifully for creating unique knitting polo designs that stand out from commercial alternatives.